Section 3: FortiGate Preparation
3.1 Initial Login
In the Amazon EC2 console, locate the public IP address of the FortiGate instance.
Open the FortiGate GUI in your browser:
texthttps://<FORTIGATE-PUBLIC-IP>Log in with:
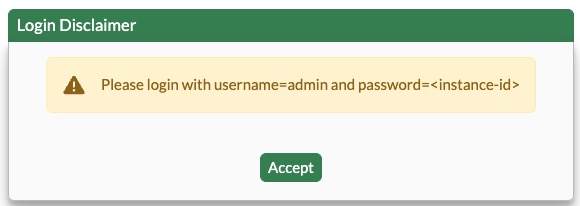
Field Value Username adminPassword FortiGate EC2 instance ID Set a new administrator password when prompted.
Complete the initial setup wizard.
TIP
Your browser may display a certificate warning because the FortiGate initially uses a self-signed certificate.
3.2 Activate the FortiGate License
Obtain the FortiFlex token assigned to your lab environment.
In the FortiGate GUI, use the token-based licensing option to activate the FortiGate-VM.
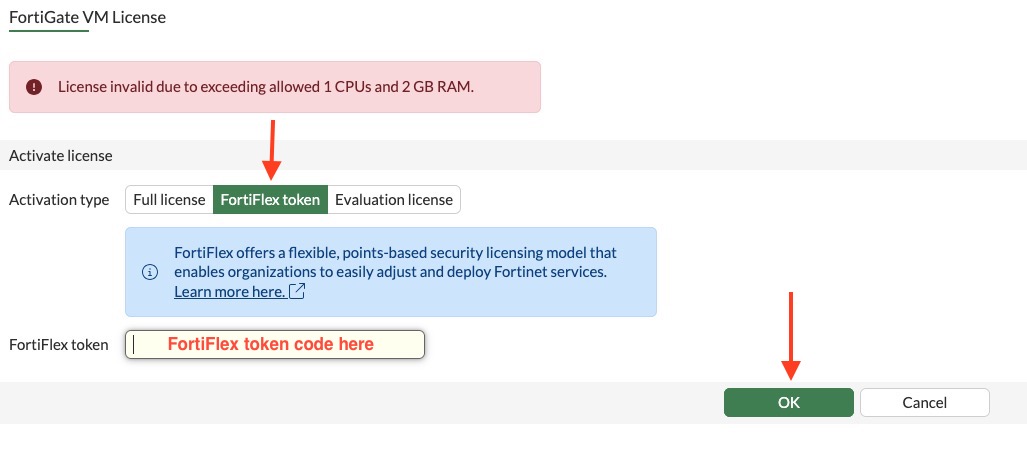
Confirm the reboot when prompted.

Allow several minutes for the FortiGate to restart.
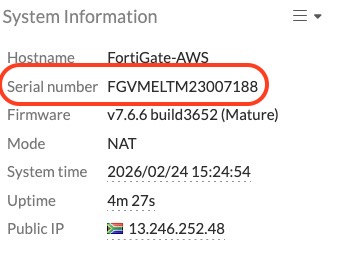
Log in again and confirm that the FortiGate displays a valid serial number and licensed status.
3.3 Verify Interfaces and Firewall Policy
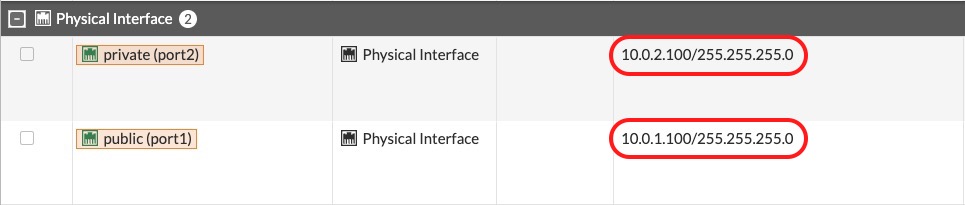
Verify that the deployment automation mapped the FortiGate interfaces correctly:
| Interface | Purpose |
|---|---|
port1 | WAN interface connected to the public subnet |
port2 | LAN interface connected to the private subnet and Transit Gateway traffic path |
Next, confirm that the firewall policy for Ubuntu VM Internet access is already configured.

Next Step
Continue to Section 4: FortiGate AWS SDN Connector.